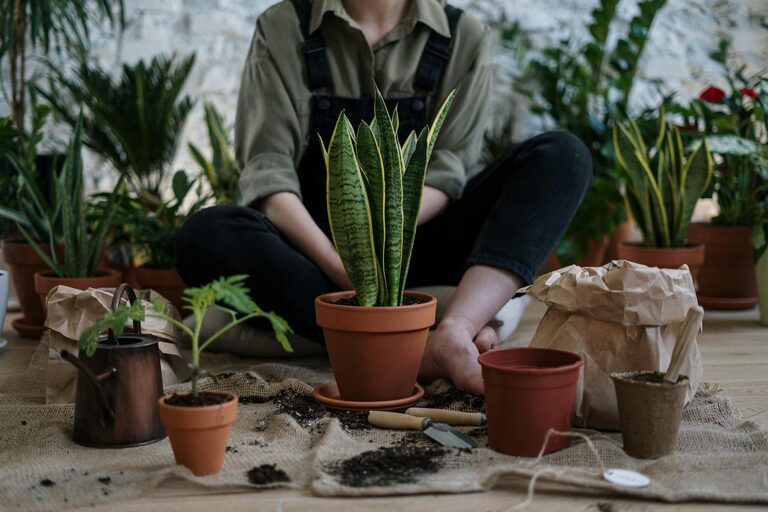
Growing your own herbs indoors is a rewarding way to bring fresh flavors to your kitchen and a touch of nature into your home. Whether you have limited outdoor space or want to garden all year long, an indoor herb garden is an excellent project for beginners and experienced gardeners alike. In this guide, we’ll walk you through everything you need to know to start a small herb garden indoors, from choosing the right herbs to caring for your plants.
Why Grow Herbs Indoors?
Indoor herb gardens are convenient and aesthetically pleasing. They provide fresh herbs at your fingertips, reduce grocery trips, and add a lovely green accent to your living space. Herbs like basil, mint, and rosemary are easy to grow indoors, even if you don’t have much gardening experience.
Step 1: Choose the Right Location
Herbs need plenty of light to thrive, so pick a spot with good natural sunlight. A south- or west-facing windowsill is ideal because it typically receives the most light during the day. If natural light is limited, consider using a grow light to supplement.
Tips for Choosing a Location:
– Ensure the temperature stays between 65°F and 75°F (18°C to 24°C).
– Avoid spots near heating vents or drafts.
– Make sure the location has good air circulation.
Step 2: Select Your Herbs
Start with easy-to-grow herbs that do well indoors. Some great options include:
– Basil: Great for cooking, loves warm conditions.
– Mint: Very hardy and spreads quickly; keep in its own pot.
– Parsley: Takes a bit longer to sprout but grows well inside.
– Thyme: Tolerant of dry soil and moderate light.
– Chives: Need moderate sunlight and regular watering.
– Cilantro: Prefers cooler environments and frequent watering.
– Oregano: Requires bright light and well-drained soil.
Select herbs based on your cooking preferences and the growing conditions you can provide.
Step 3: Choose Containers and Soil
Containers
Herbs grow best in pots with drainage holes to prevent waterlogging. You can use traditional terracotta pots, plastic containers, or even recycled jars as long as they provide good drainage. Choose pots that are about 6 to 8 inches deep for most herbs.
Soil
Use a light, well-draining potting mix formulated for indoor plants or herbs. Avoid using garden soil, which may compact and reduce drainage. You can also look for soil that includes perlite or vermiculite to help aerate the roots.
Step 4: Planting Your Herbs
You can start herbs from seeds, seedlings, or small plants from a nursery.
Planting from Seeds:
– Fill your pots with potting soil leaving about an inch of space at the top.
– Plant seeds according to the depth recommended on the packet (usually about twice the size of the seed).
– Lightly cover with soil and gently water until moist.
– Cover with plastic wrap or a humidity dome to retain moisture until the seeds sprout.
Planting from Seedlings:
– Gently remove the seedling from its original container.
– Place it in the new pot at the same soil level.
– Fill with soil around the roots and water immediately.
Step 5: Watering and Care
Indoor herbs typically like their soil to be kept slightly moist but never soaked.
Watering Tips:
– Water when the top 1 inch of soil feels dry.
– Avoid watering leaves to prevent mold and mildew; focus on the soil around the base.
– Use room temperature water for best results.
Other Care Tips:
– Fertilize your herbs lightly every 4-6 weeks with a balanced liquid fertilizer diluted to half strength.
– Trim your herbs regularly to encourage bushier growth and prevent flowering.
– Remove any yellow or dead leaves promptly.
Step 6: Harvesting Your Herbs
Harvest herbs in the morning after the dew dries, when the oils in the leaves are most concentrated. Use scissors to snip leaves or stems, cutting just above a pair of leaves. This encourages new growth.
Avoid taking more than one-third of the plant at a time to keep your herb healthy and productive.
Troubleshooting Common Issues
– Leggy Plants: Usually caused by insufficient light. Move your herbs closer to a window or add more light.
– Yellow Leaves: Could indicate overwatering or poor drainage. Let the soil dry out more between waterings.
– Pests: Indoor herbs are less affected by pests but occasionally aphids or spider mites can appear. Try rinsing leaves or using natural insecticidal soap.
Final Tips for Success
– Rotate your pots every few days to ensure even light exposure.
– Keep an eye on humidity levels; a small indoor humidifier can help if your air is very dry.
– Experiment with different herbs to see which ones thrive best in your indoor environment.
Growing an indoor herb garden is a fun and simple way to add beauty and fresh flavors to your home. With just a few pots, some soil, and a sunny spot, you can start enjoying the benefits of homegrown herbs year-round!
Happy gardening!

